

HubSpot For SugarAI keeps your SugarAI Contacts, Leads and Accounts in sync with HubSpot contacts and companies, in one direction or both. Records sync in real time or on a schedule, with field mapping you control and no duplicates.
Installation Guide
HubSpot For Sugar syncs Contacts, Leads and Accounts both ways between SugarAI and HubSpot (version 1.14.1).
Overview Video
What syncs
- Sugar Contacts and HubSpot contacts that are not in the Lead stage.
- Sugar Leads and HubSpot contacts in the Lead stage.
- Sugar Accounts and HubSpot companies.
Sugar to HubSpot runs instantly or every 5 minutes; HubSpot to Sugar runs every 15 minutes.
- Connects with your own HubSpot private app token.
- Each direction is switched on per module.
- Any field can be mapped, both ways or one way.
- Records are matched before anything is created, so no duplicates.
Requirements
- SugarAI 8 to 14, 25 or 26 (Professional, Corporate, Enterprise or Ultimate) and an admin user.
- A HubSpot private app token (created by a HubSpot Super Admin).
- Sugar cron running every minute.
- Outbound HTTPS from Sugar to api.hubapi.com and www.sugaroutfitters.com.
Install the package
- Open Admin > Module Loader, upload the package zip, click Install, then Commit.
- A HubSpot Api section appears on the Admin page.

To upgrade, install the new zip the same way; your settings are kept.
Activate your licence
- Open Admin > HubSpot Api > License Configuration.
- Paste your licence key (marketplace account > Account > Purchases) and click Validate.
- When Success! appears, click Continue.
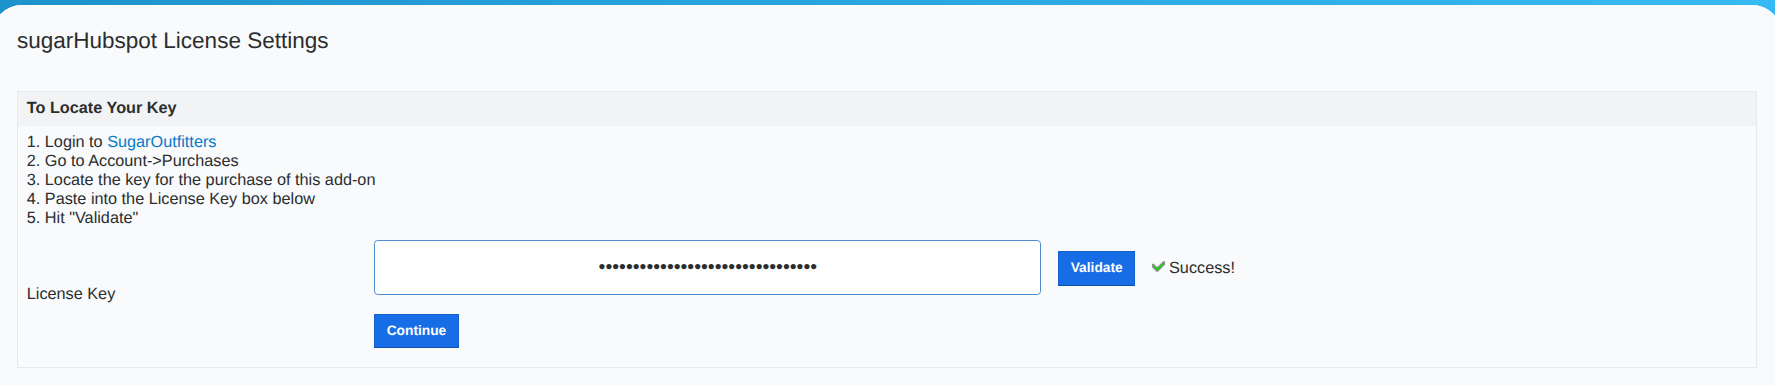
Nothing syncs until the licence is valid.
Next: Configuration
 Saving Comment...


